Standard Weight F1 Calibration. Learn more about this process through the following article.
To check the mass of one or more objects, scales and weights are two indispensable measuring tools. These two equipments are extremely important in determining mass. Therefore, stability & limiting errors are top priorities. The F1 standard weight is a measuring device commonly used in production, research,… The F1 weight is used to calibrate the CCX II technical balance or calibrate the weight with lower accuracy (such as the F2 weight). Therefore, to ensure that the F1 standard weight is accurate, periodic calibration is required. This activity will help detect risks of damage early so that they can be remedied in time. This will help increase accuracy when using the F1 weight.
1. What is F1 Standard Weight Calibration?
A weight is an object of a certain mass that is used to determine the mass of other objects through a balance. A standard weight is a measuring instrument used to verify and calibrate weights and weights. Standard weights have many different levels of accuracy, depending on the purpose of use, there will be an appropriate choice. According to OIML R76-1, the standard weights are classified according to the accuracy class including E0, E1, E2, F1,F2, M1, M2, M3
– Class E1, E2 weights are used to calibrate analytical balances, microbalances.
– Class F1, F2 weights are used to calibrate technical balance CCX II
– Class M1 weight is used to calibrate CCX III
– Class M2, M3 weights are used to calibrate CCX III
Particularly, the standard weight E0 plays a role of standard transmission for the E1 class weight. The standard weights also serve as a means of calibration for weights of lower accuracy. For example, when calibrating a standard weight of accuracy class F2, use the standard weight F1.
2. F1 Standard Weight Structure?
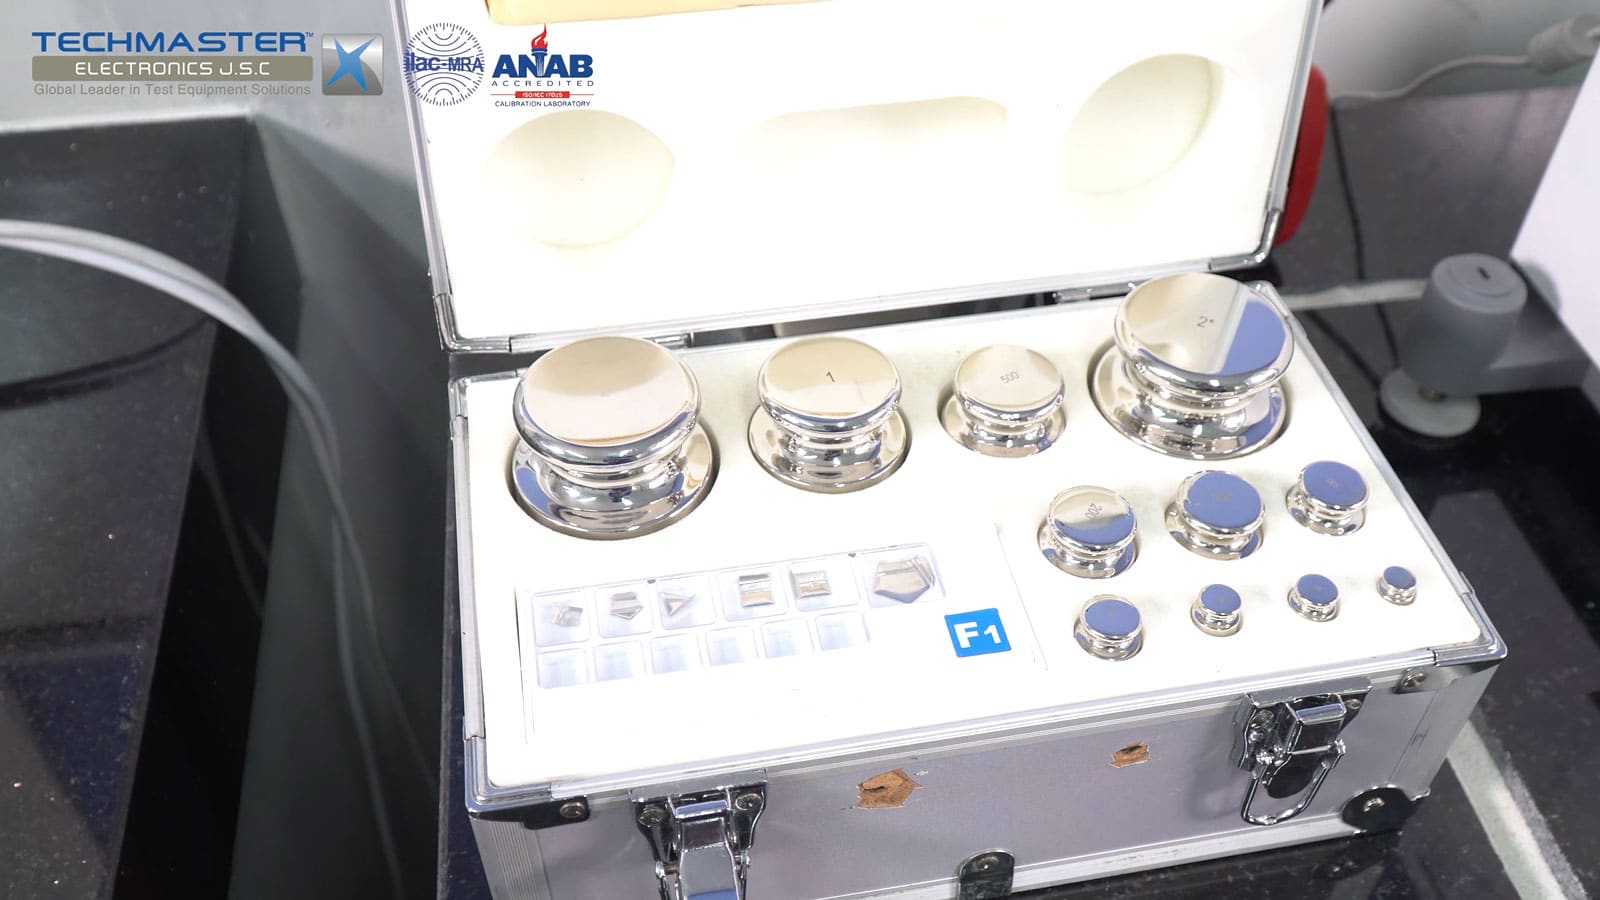
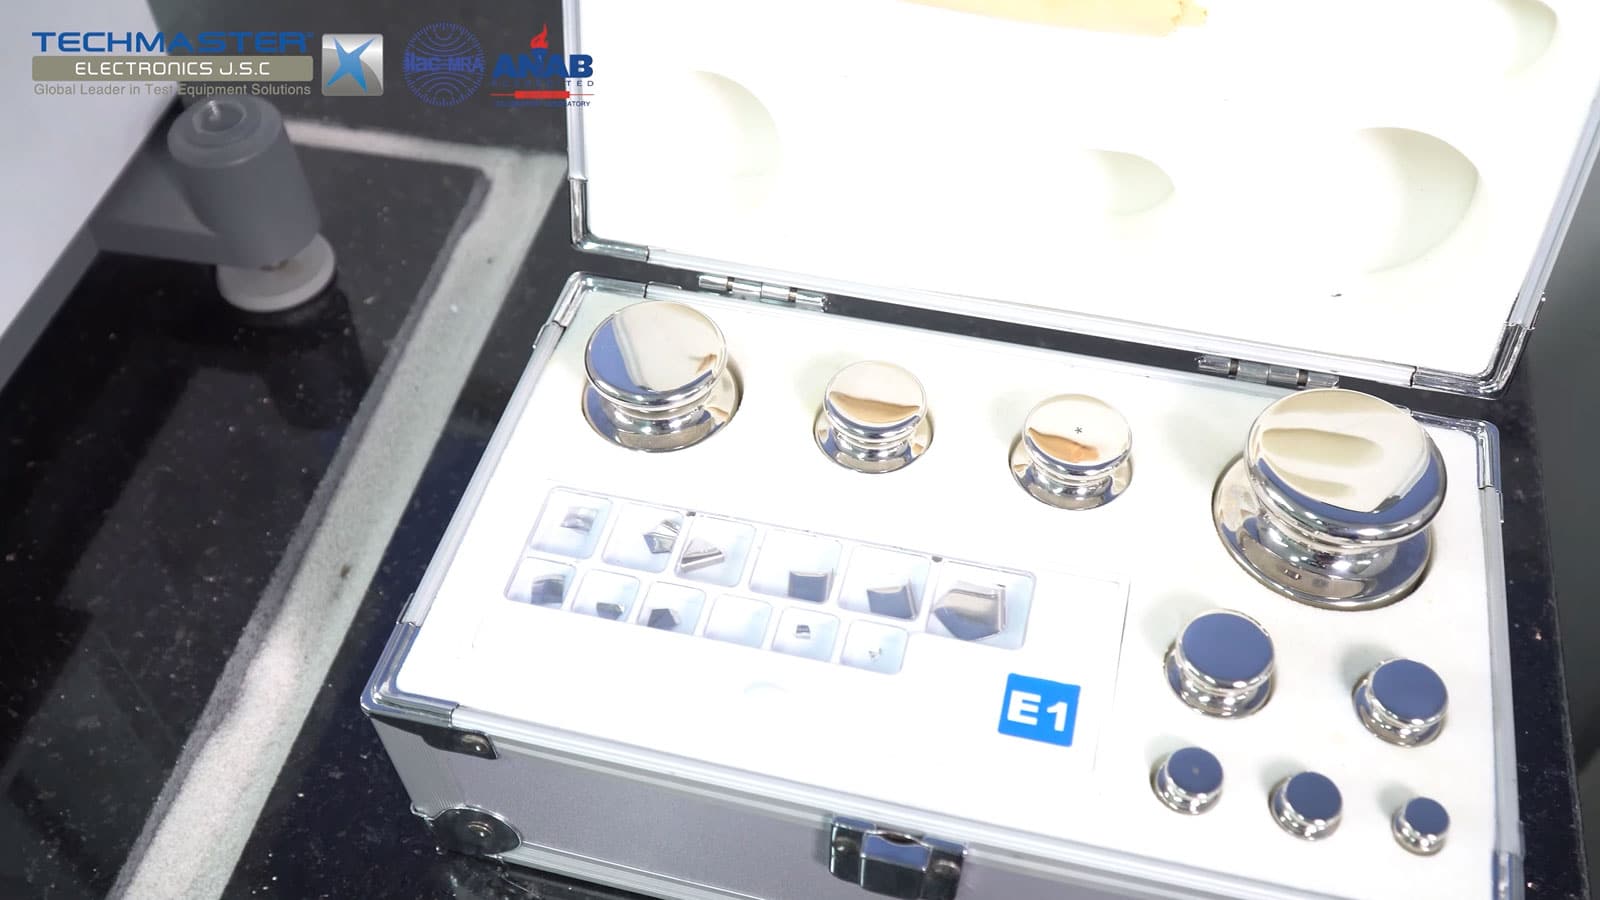
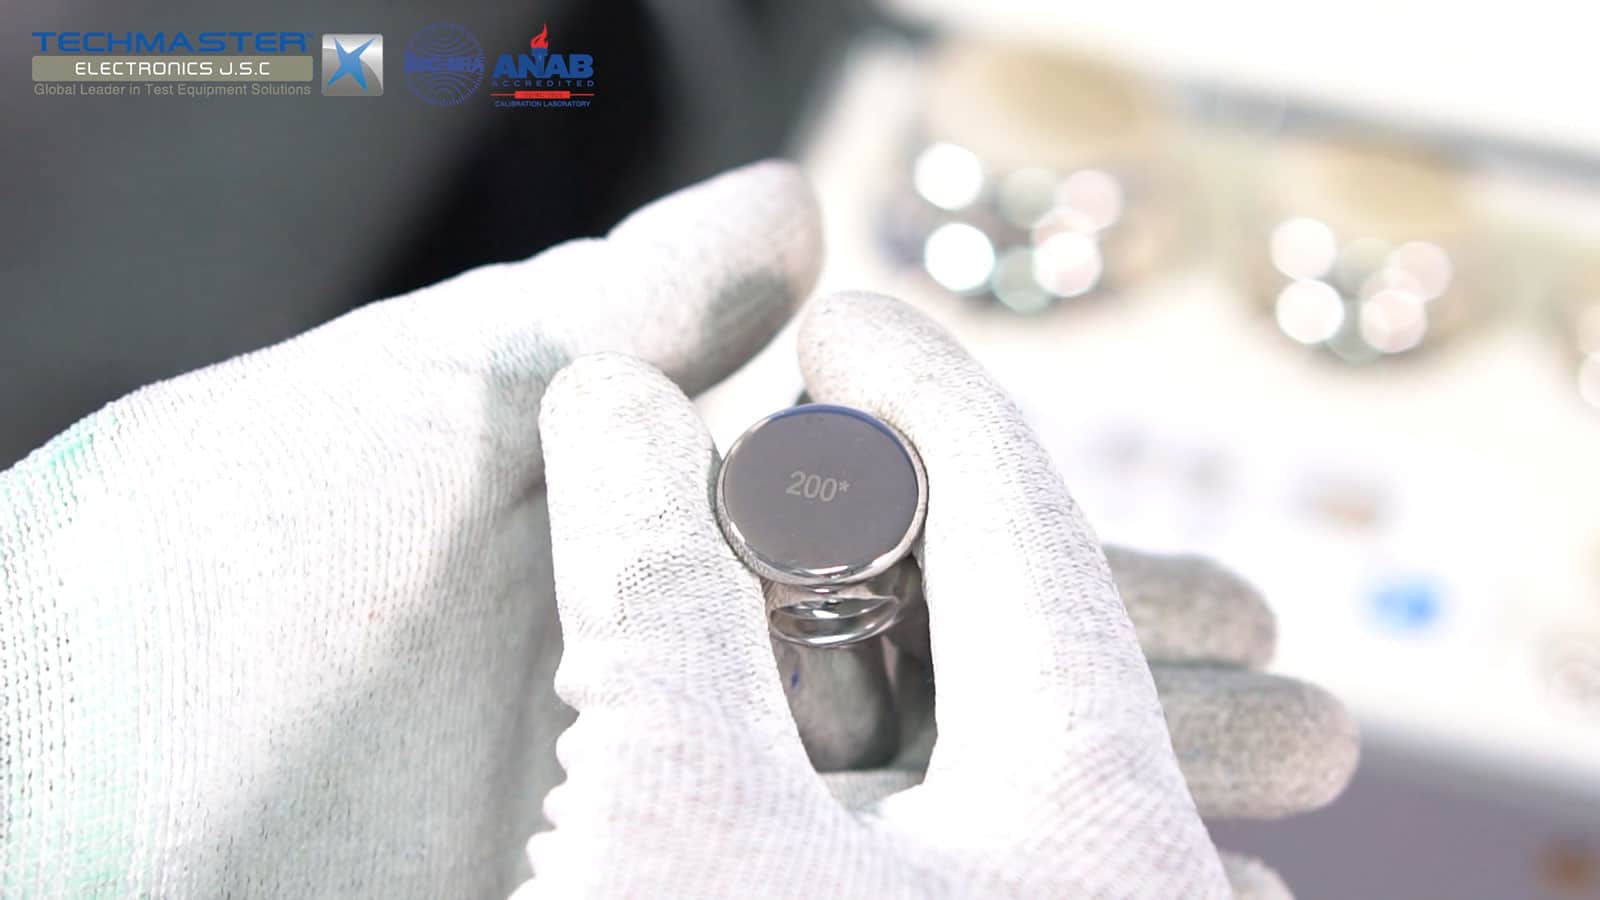
The set of precision grade F1 weights includes many weights in cylindrical shape, covered with anti-rust stainless steel and in the form of fiber pieces (1mg ~ 500mg). Standard weights F1 ~ F2 in cylindrical shape with engraved mass index. The coefficients of the standard weights are as follows:
– Small weights under 1g have the form:
+ Number 1: triangle
+ Number 2: square
+ Number 5: pentagon
– For sets of weights larger than 1g, they are usually made by a factor of 1-2-2-5, with the number 2 often marked with * or numbered to distinguish it. For example 2 and 2* or 21 and 22
3. F1 Standard Weight Notes
Using standard weights in calibration and verification is very simple. However, users need to follow the notes to ensure correct operation. Besides limiting the risk of damage to the F1 standard weights. Here are some notes to effectively use the F1 standard weight.
- Clean the surface of the standard weight with a cleaning brush and wipe it with a specialized towel before use.
- Absolutely do not touch the stainless steel weights with bare hands, but use gloves or specialized velvet towels.
- Before calibrating or checking the balance, you need to make sure that the temperature of the scale and the weight are equal. Attention should be paid to this detail because the temperature difference can affect the results of calibration and test.
- After use, place the calibration weight in the storage box.
- Store the F1 standard weights in a place with suitable temperature – humidity conditions as required by the manufacturer
4. F1 Standard Weight Calibration Process
4.1 Why should we calibrate F1 Standard Weight?
F1 standard weight is an important measuring device. This device is the reference equipment for the verification/calibration of scales and weights. Therefore, periodic calibration of the standard weight F1 is essential. Calibration of the F1 standard weight helps to ensure stability & accuracy for the relative operations. Besides, through calibration activities, it will help to detect equipment failures (if any) in order to promptly remedy and repair.
4.2 Standard and supporting device
- Reference weight set class E1, E2, F1, F2, M1, M2 with total weight equal or larger than Unit Under Test (UUT) capacity, and accuracy better than 3 times UUT:
|
UUT weight class |
Standard weigh set class |
|
E2 |
E1 or above |
|
F1 |
E2 or above |
|
F2 |
F1 or above |
|
M1 |
F2 or above |
|
M2 |
M1 or above |
|
M3 |
M2 or above |
- High accuracy balance, precision balance with capacity same or higher than UUT weight, repeatability and eccentricity better than 3 times UUT.
- Soft brush, lint-free cloth, gloves.
4.3 Environment conditions
- Temperature: (19 ± 2)ºC
- Relative Humidity: (20 ÷ 65)%RH
Note: environment conditions above apply for Techmaster inhouse laboratories. Outside this bound conditions will be considered with customer for uncertainty and measurement results.
4.4 Preparation
- Ensure UUT is clean and free from defects or damage capable of affecting use or calibration.
- Wear gloves and use soft brush to clean UUT class E and F. For class M can use alcohol and lint-free cloth to clean.
- Place all UUT weight, reference weight near the balance and allow them to stabilize for 2hours. For non-standard weight, stabile time is 1 hour.
- Connect balance to suitable power, switch on and warm up at least 30 minutes or follow manufacturer’s manual. Balance shall be placed in stable flat surface, no wind and vibration.
- Technician must be familiar with calibration techniques and the operator manual of the instruments being used for calibrating.
- Refer to OIML R76-1 for balance, scale repeatability and eccentricity identification.
- Refer to OIML R111-1 for weight accuracy class identification.
4.5 Perform
- Base on UUT class, select suitable reference weight set class and precision balance capacity.
- Select method ABBA or ABA for each UUT weight, follow below table:
|
UUT Class |
Method |
Repeat times |
|
E2 |
ABBA |
3 |
|
F1 |
ABBA |
1 |
|
F2 |
ABBA |
1 |
|
M1 |
ABA |
1 |
|
M2 |
ABA |
1 |
- Empty pan and set zero on balance, then weighing reference weight A and UUT weight B as above table.
- Calculate conventional mass of UUT, mct:
mct = mcr + ΔI
where,
mct : conventional mass of UUT
mcr: conventional mass of reference weight
ΔI: differential weight, calculated by below formula, based on selected method in table above:
ΔI = [(B1-A1)+(B2-A2)]/2 or
ΔI = [(B1-A1)+(B1-A2)]/2
- Calculate correction = mct – mnom,
Where, mnom: nominal mass of UUT
- Repeat all steps above for remain weights of UUT.
- Calibration is completed, empty pan, power off for balance, and secure all equipment.
4.6 Tolerance
- Tolerance of standard weight shall be follow OIML R111-1 E04. If non-standard weights, tolerance are based on customer.
- Need to negotiate with customers if had other requirements before judgement.


