Color is one of the important elements to evaluate product quality as well as attract consumers. Especially for industries such as paint production, plastic products, printing, etc., color is a decisive elements to determine whether the product meets the requirements or not. So colorimeter (color meter) has been commonly used to check the quality of products. Calibration of the colorimeter is essential to ensure stable operation.
1. What is Color Meter/Colorimeter ?
A colorimeter can measure the absorbency of light waves. During colour measurement the change in the intensity of electromagnetic radiation in the visible wavelength region of the spectrum after transmitting or reflecting by an object or solution is measured. Colorimeters can be classified into two types:
- Visual
- Photoelectric.
Visual colorimeters are of two types:
- Visual absorption meters/colour comparators
- True visual colorimeter or tristimulus colorimeter.
Tristimulus colorimeter.
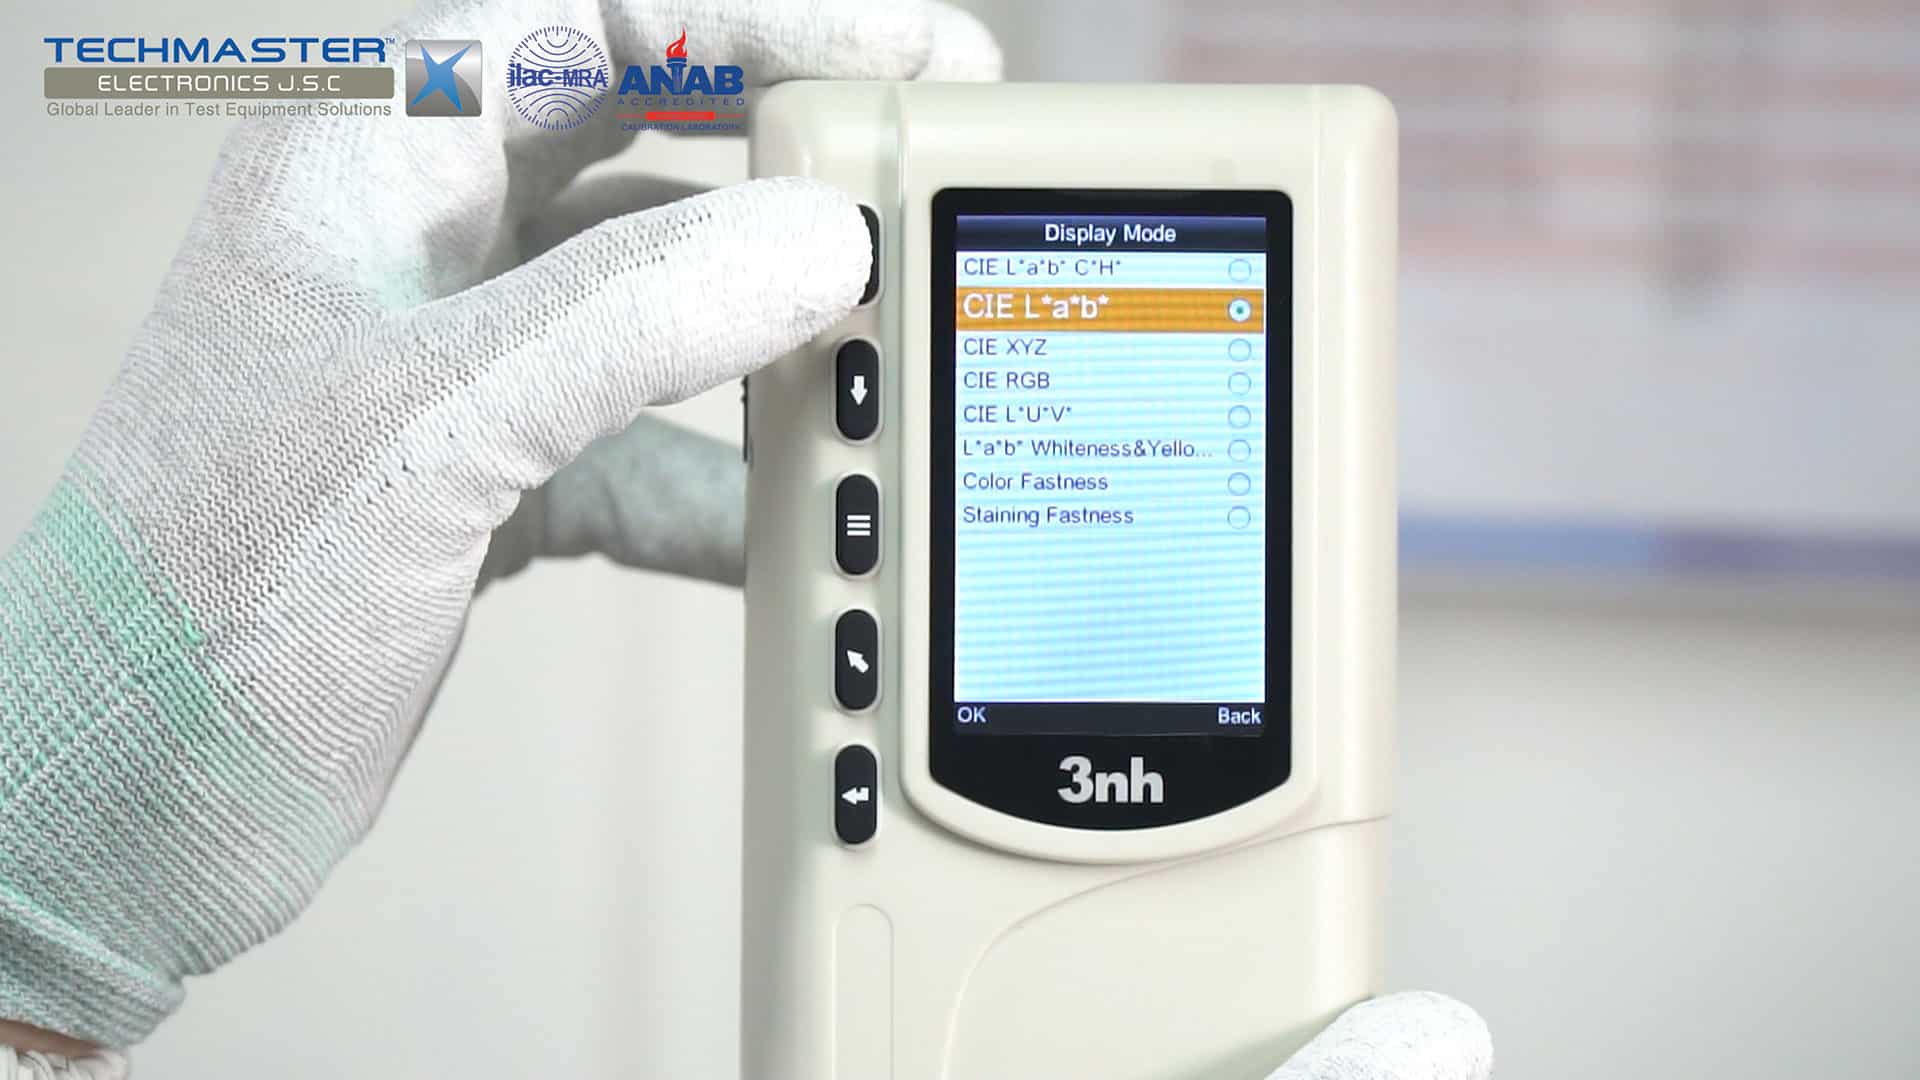
Typically a tristimulus colorimeter is used to measure light and correlate it to the X (red), Y (Green/Yellow) and Z (Blue) components of CIE1931 color space or CIE1964 color space. Another approach to correlate color to human vision on the L*a*b* color space. The L* value relates to the lightness of a color using a numerical range of 0−100 where the darkest color (or blackness) is equal to zero and the lightest (or whitest) color is equal to 100. The a* values are represented as the red to green range where red colors are the positive values and green colors are the negative values. The b* values are represented as the blue to yellow color range where yellow colors are the positive values and blue colors are the negative values. These a* and b* values are plotted on an XY axis with the L* value piercing the center of the plot as a three-dimensional space. When a* and b* values are measured at zero, the color indicated is a true neutral falling right in the center of the red to green space or the blue to yellow space.
2. Applications of color meter/colorimeter ?
The colorimeter/color meter is designed for a variety of applications in many industries:
– For the paint industry, this device is used to monitor colors in the paint production process. Check that the finished products have met the standard color or not. At the same time, it supports color mixing to create new paint colors.
– For the printing industry, it is used to monitor the color of printed samples. Ensure print products meet quality requirements. In addition, early detection of substandard products for removal or adjustment.
– For the plastic manufacturing industry, monitor the color quality of the products. Ensure the color of the finished products meets the standards. Because color in the plastic industry is a decisive factor in both quality and consumer attraction.
– In laboratories and research, various types of colorimetric spectrometers are often used to measure color and analyze samples.
3. Color Meter Calibration Process
3.1 Why Color Meter Calibration?
Colorimeter is important in ensuring output quality for paint, plastic, printing products, etc. Therefore, calibration of this device is extremely necessary. As it will help ensure stability and accuracy for related operations. Besides, the calibration also helps to detect equipment failures (if any) early for timely correction and repair.
3.2 Calibration instrument – Color Meter Calibration
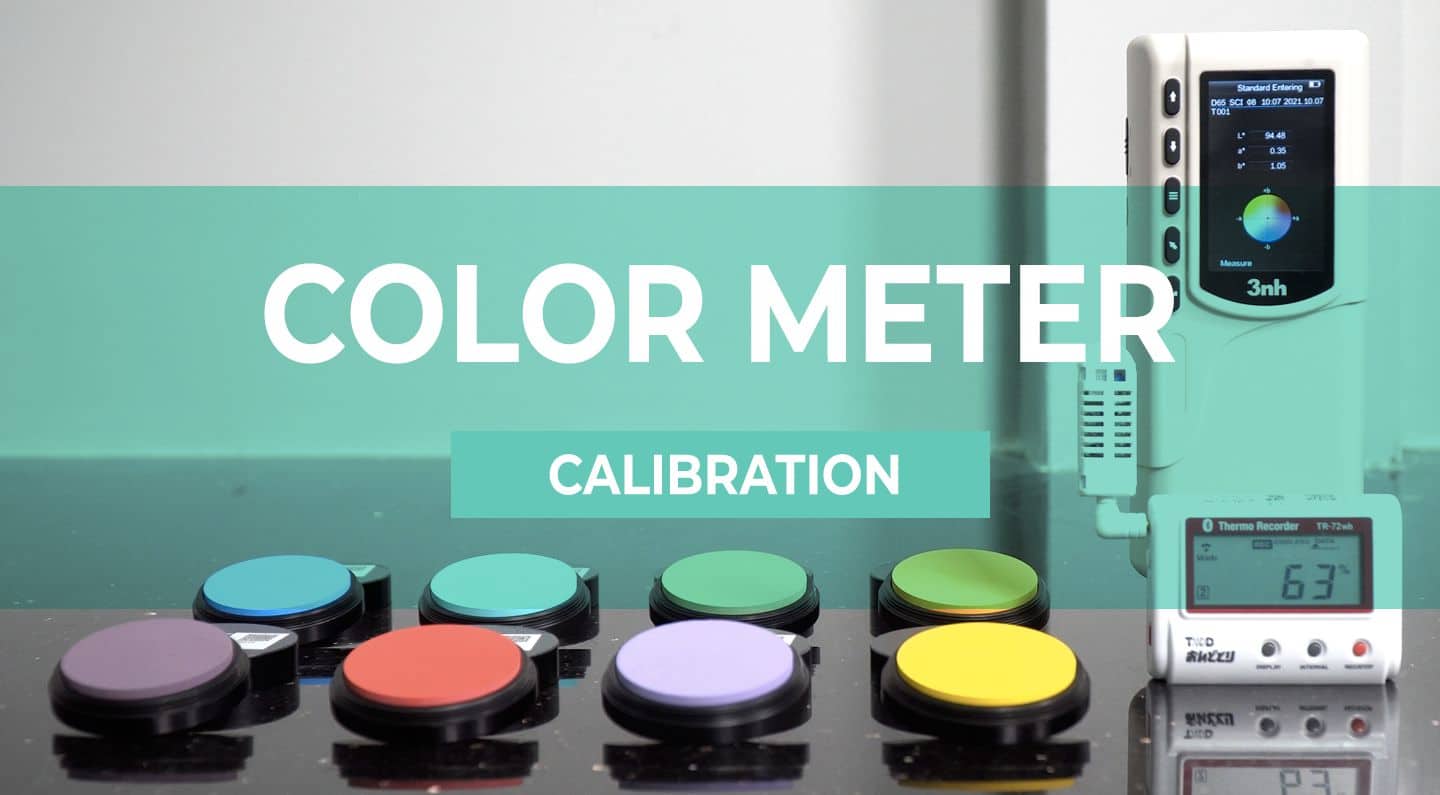
Color Meter Calibration System with :
– Standard Color Set plate with above color space data.
– White & Black plate (zero plate), supplied as UUT accessories.
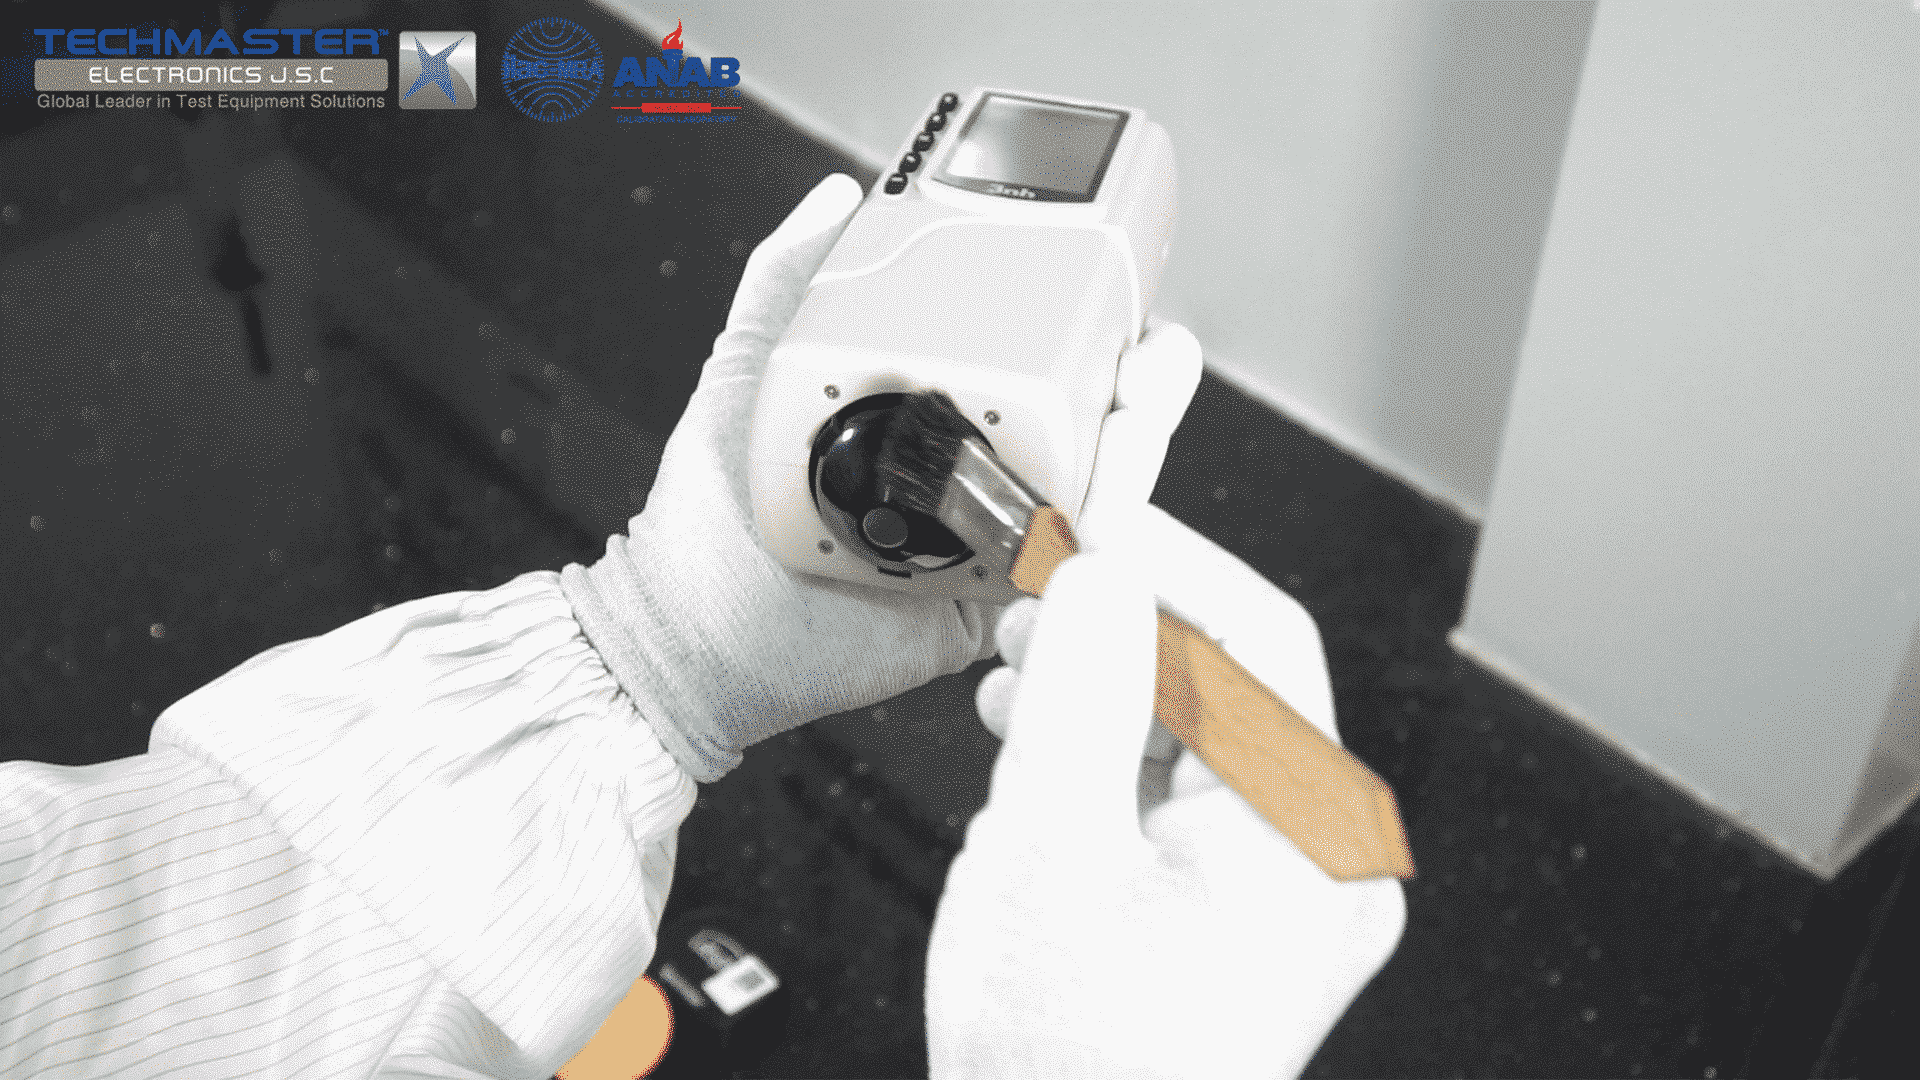
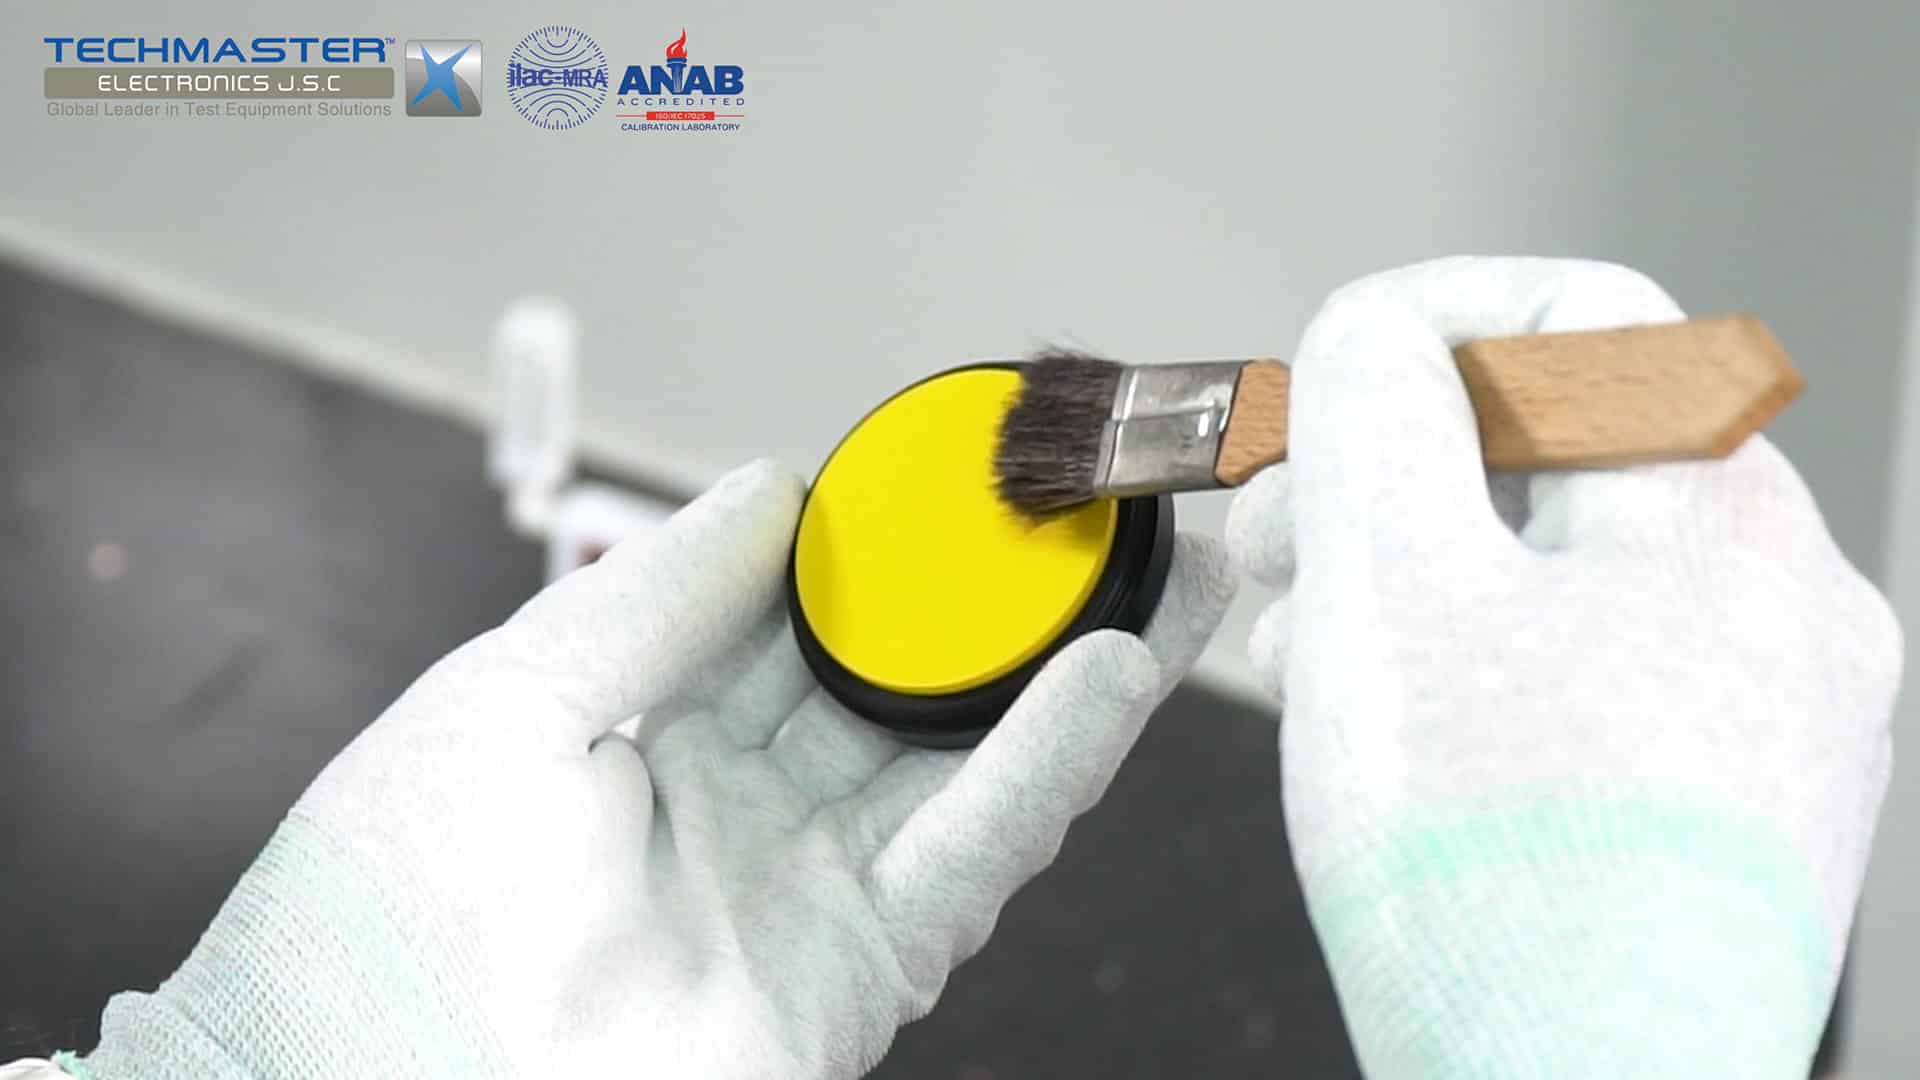
– Cleaning material: dry lint-free cloth, soft brush
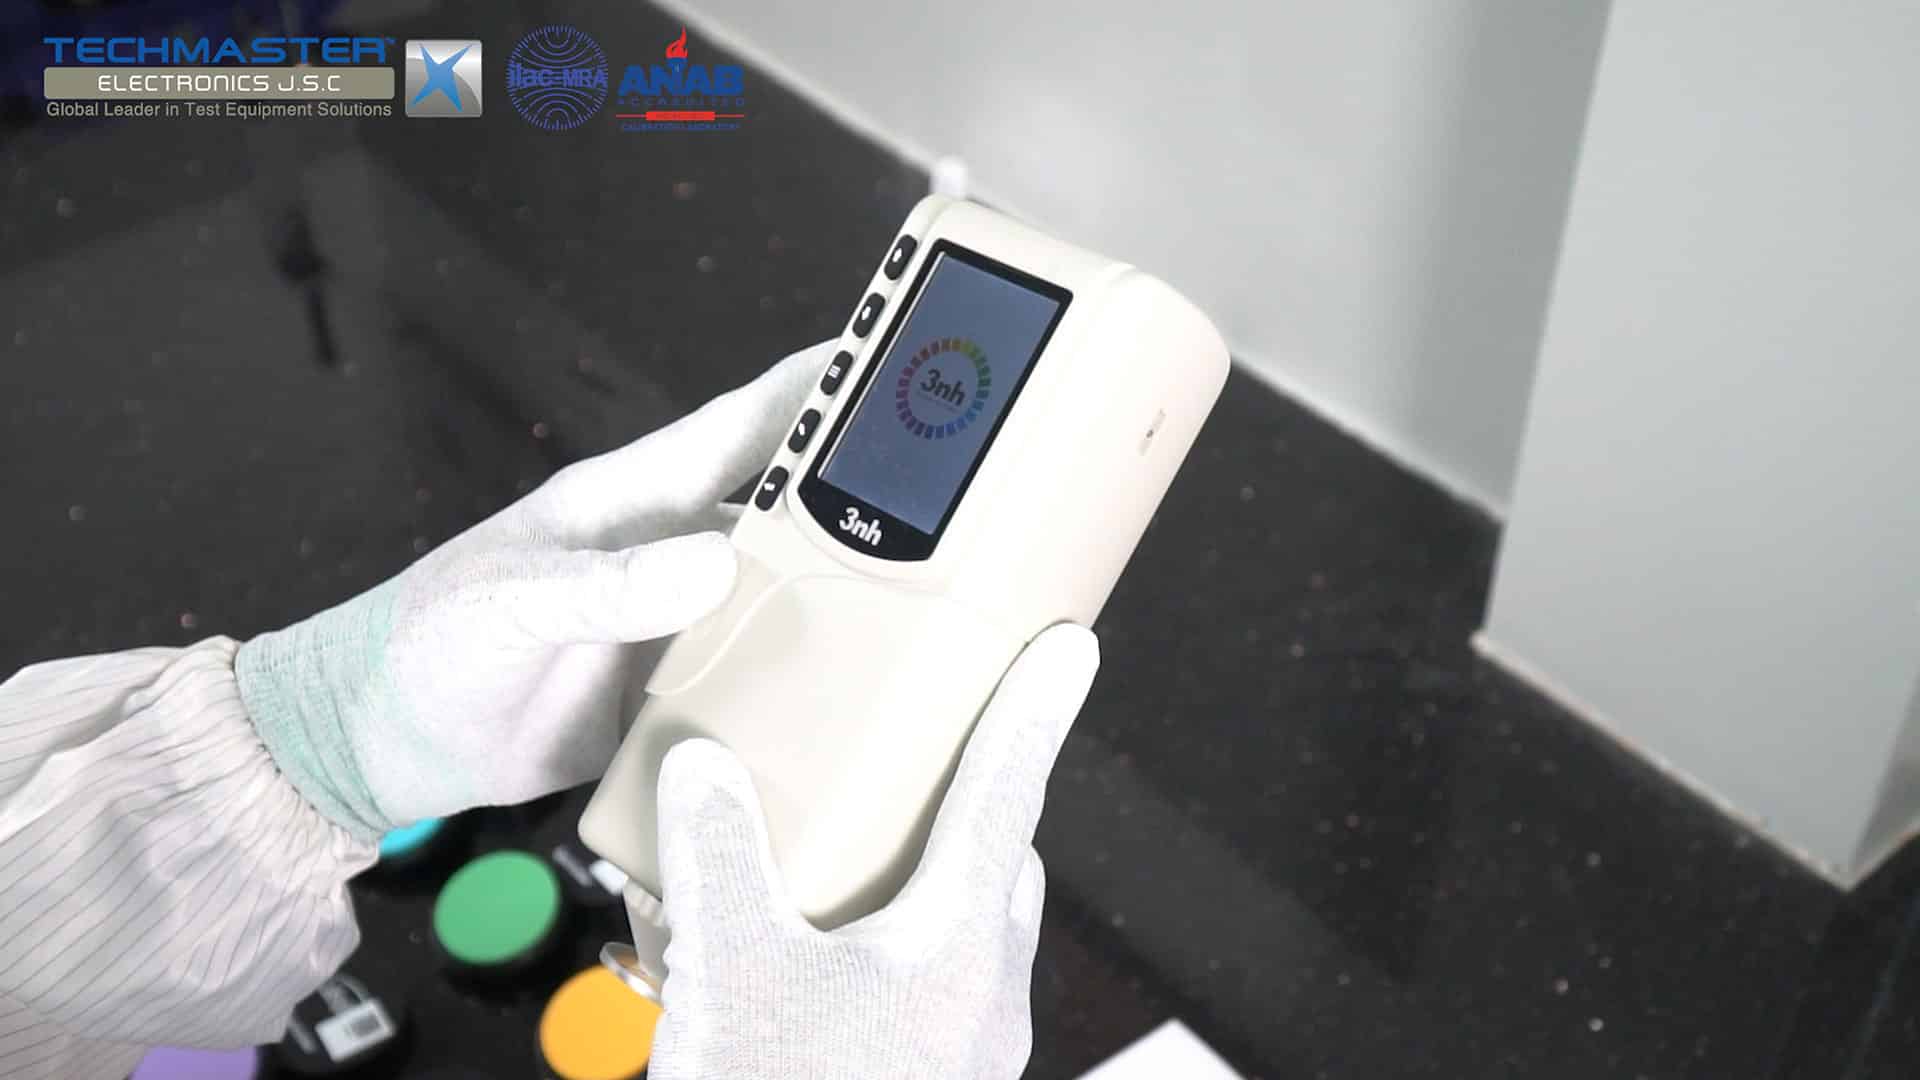
Unit Under Test (UUT): Colorimeter 3nh NR60CP
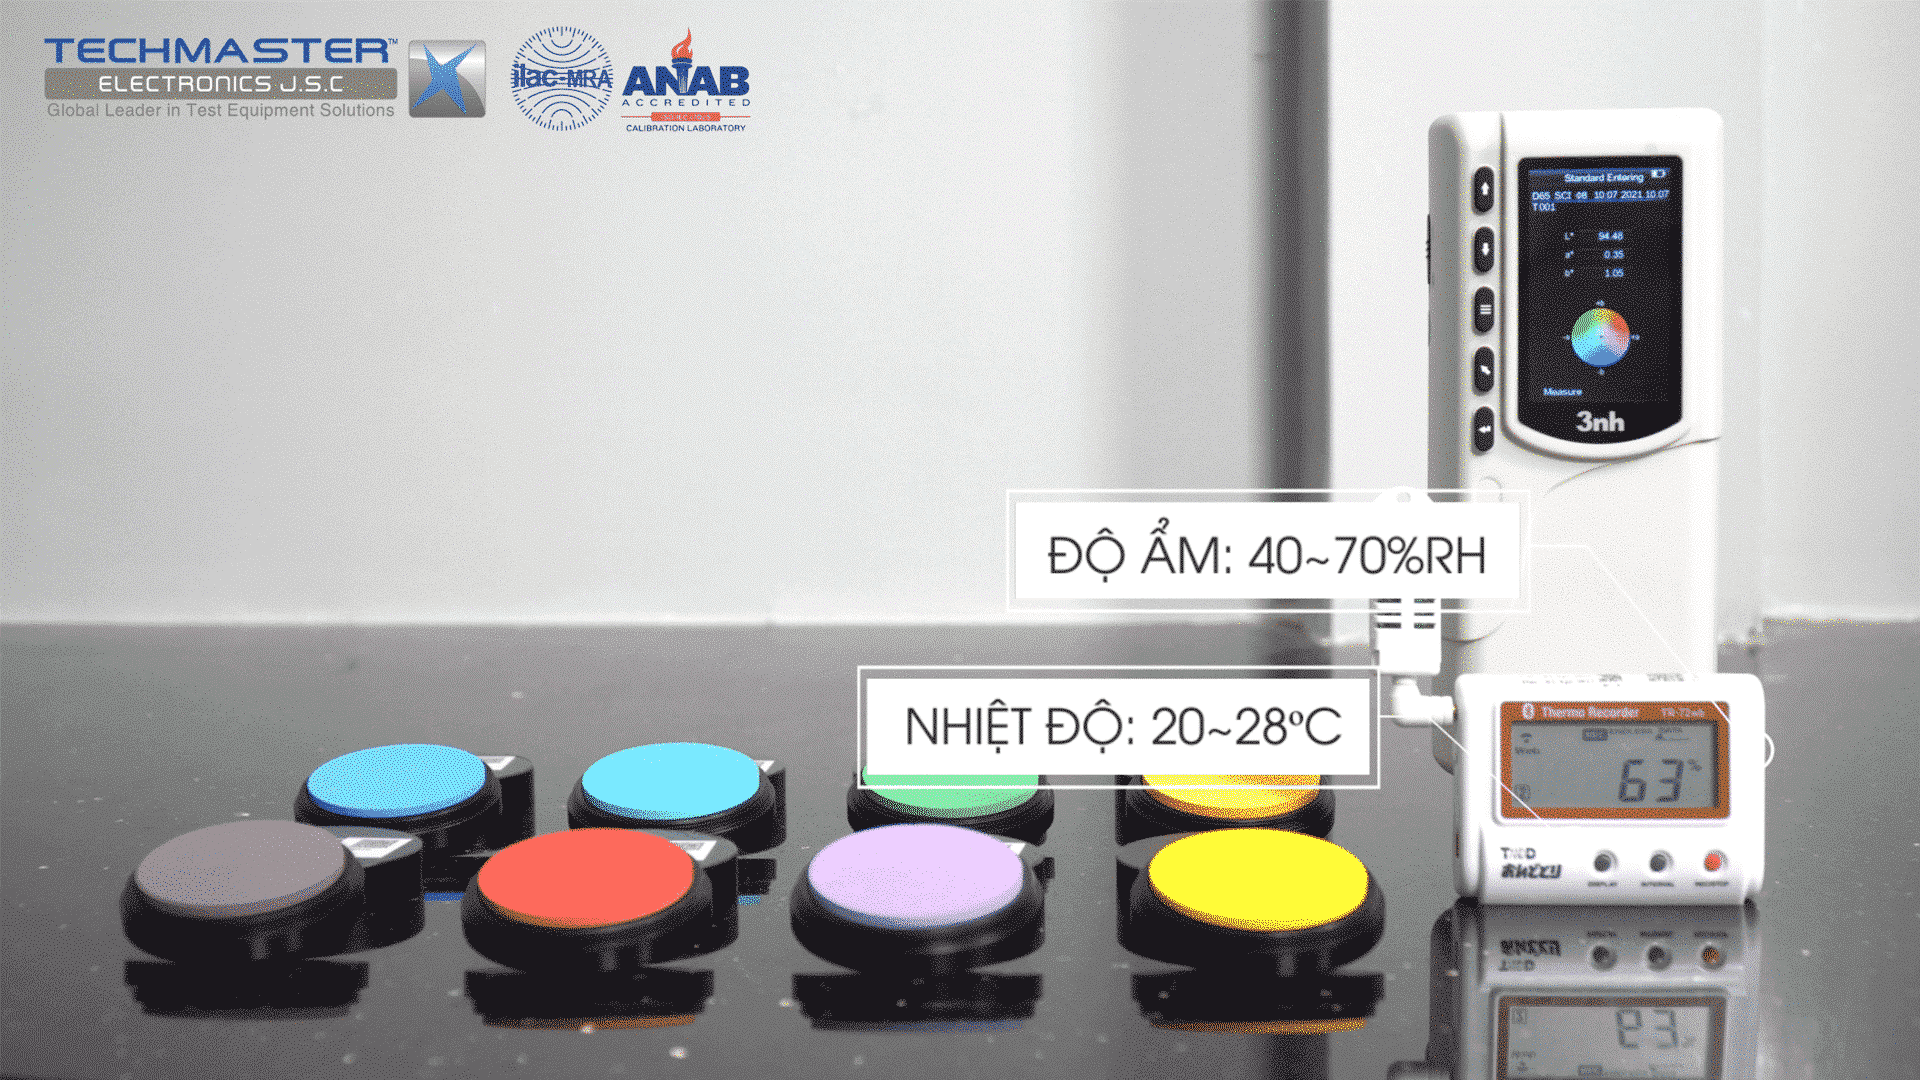
3.3 Environment conditions
– Temperature: 20~28ºC.
– Relative Humidity: 40~70%RH.
3.4 Preparation – Color Meter Calibration
– Inspect the measuring face of the instrument to be sure that it is clean and free of scratches and rough particles. A rough surface will damage the calibration standard piece.
– Ensure that surface of Standard Color Set plate, Zero/White plate are free from scratches, dirt, and organic matter on the surface. A soft hair brush should be used to clean these plate.
– Technician must be familiar with calibration techniques and the operator manual of the UUT being calibrated.
– Connect UUT to suitable power, turn ON and allow warm-up with manufacturer’s instruction.
3.5 Perform
3.5.1 Measure of color space parameter
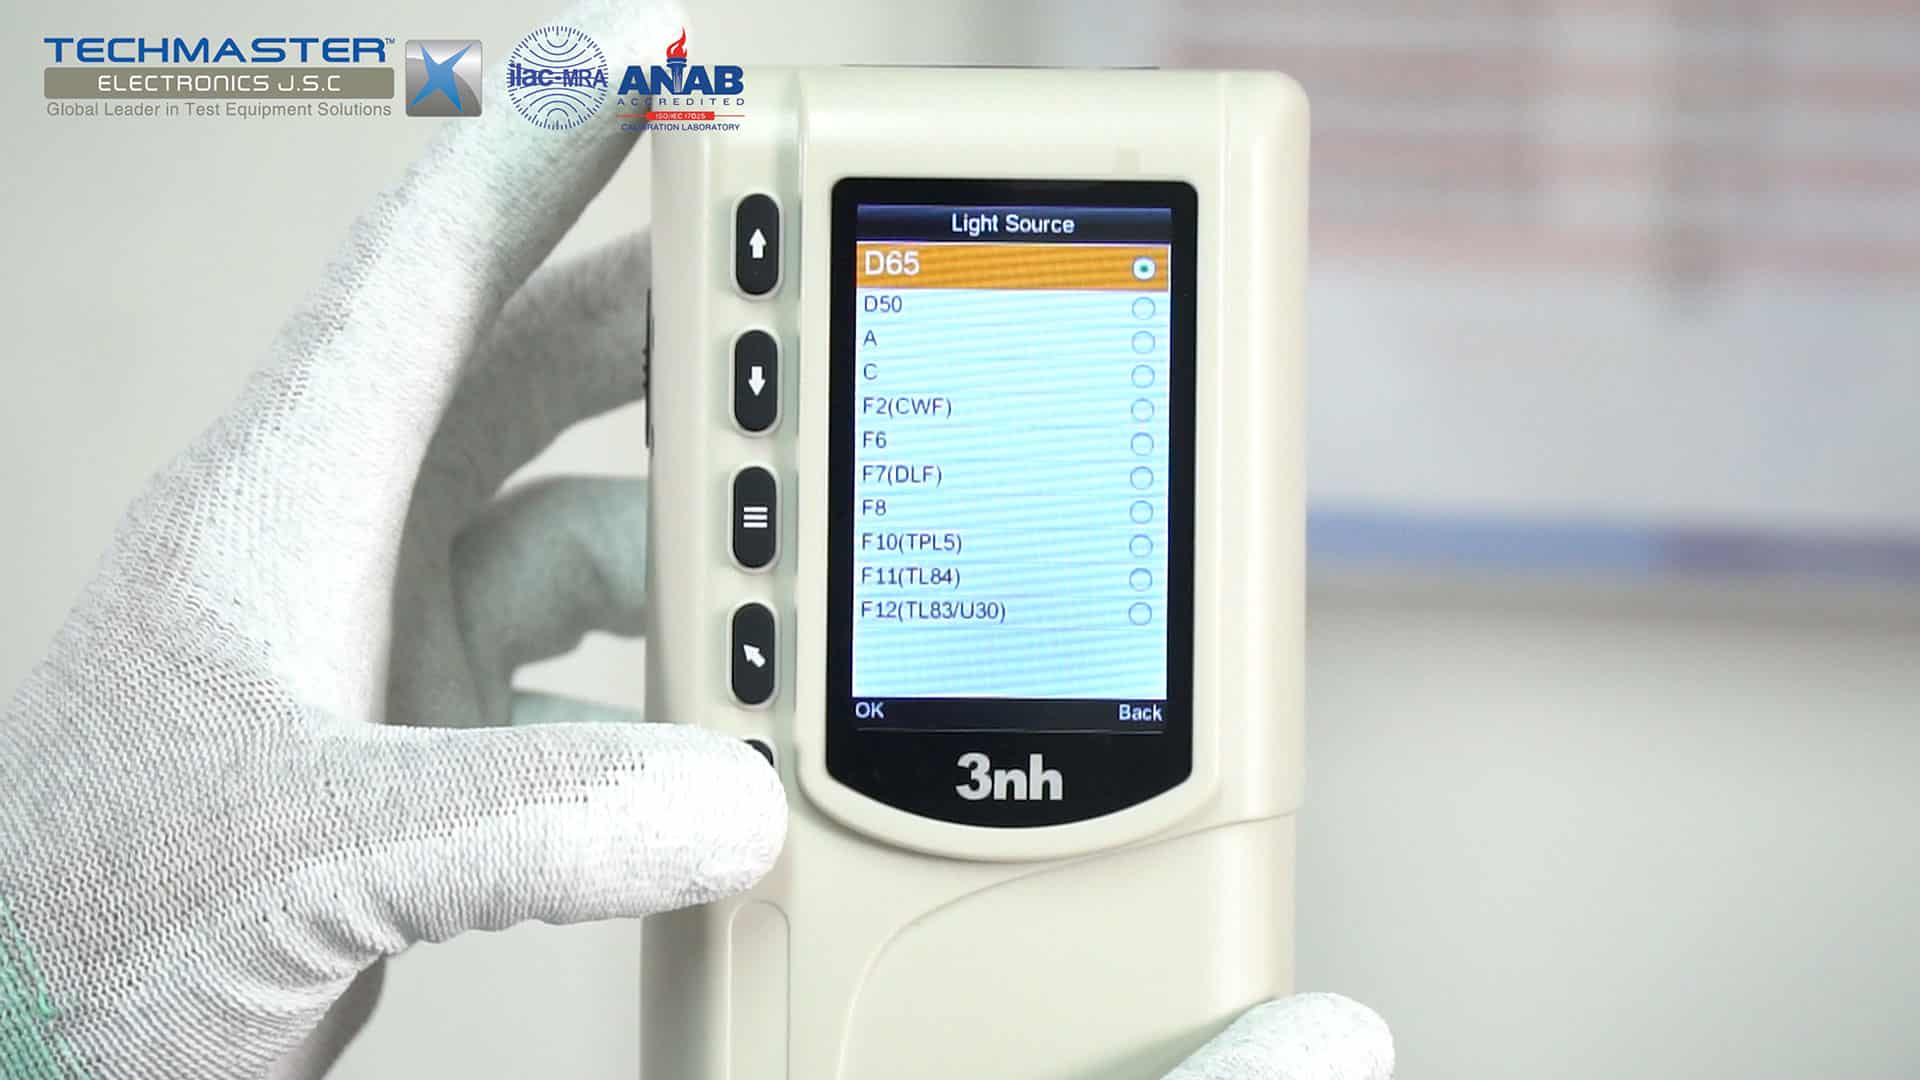
– Set the UUT illuminant to A or D65, field of view, color space in accordance with calibration requirements.
– Note the data of Standard Color Set plate base on UUT measurement conditions above.
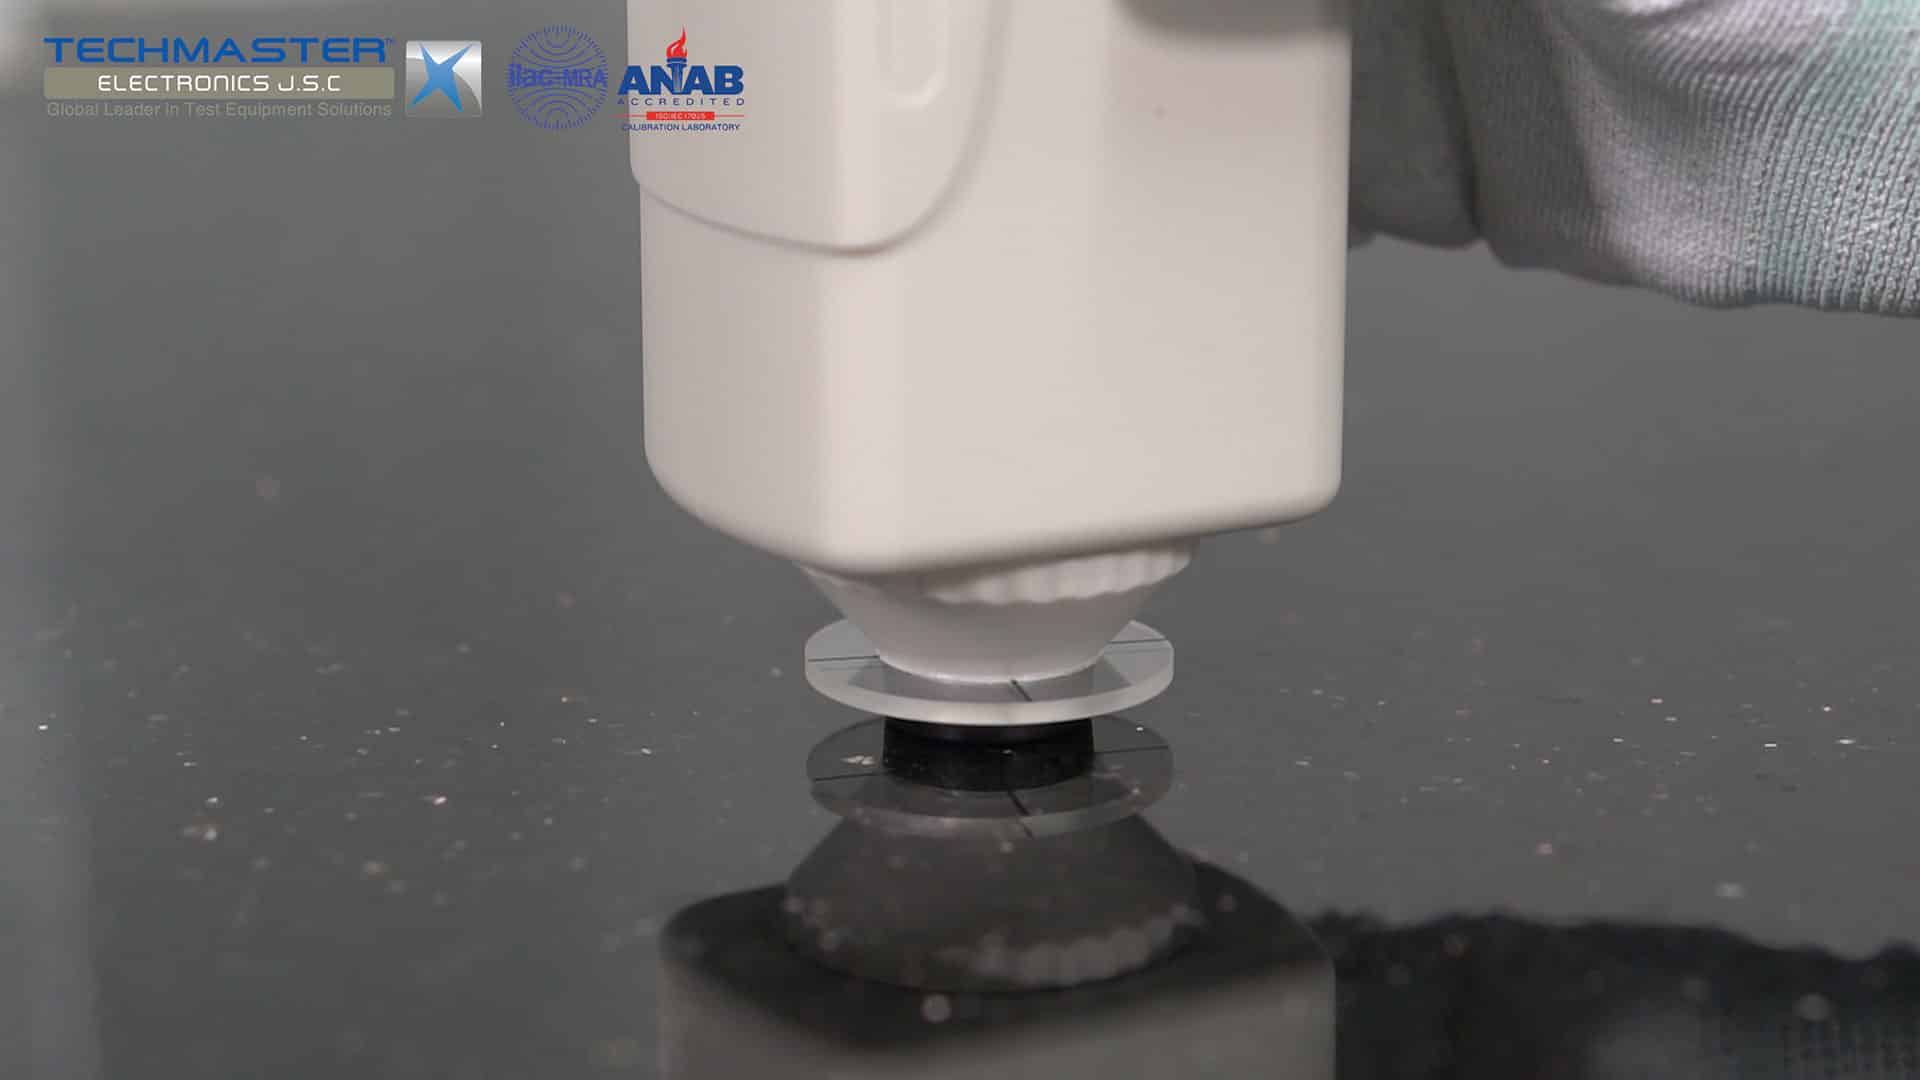
– Place the UUT on the zero plate (White/Black plate) first, perform zeroing as manufacturer’s instructions.
– Then place UUT on a reference color plate and measure, repeat 5 times for each plate, record values.
– Change to next reference color plate and repeat measurement. Perform zero for each time of changing if necessary.
3.5.2 Repeatability Test
– Set the UUT illuminant to A or D65, field of view, color space in accordance with calibration requirements.
– Follow manufacturer’s instruction, perform calibration with supplied White Plate.
– Then, perform repeat measurements 10~30 times based on UUT specifications with White Plate above. Other color repeat measurements can be done follow customer’s requirements.
– Calculate standard deviation of repeated measurements, record to the test report.
– Calibration now completed, turn unit off, disconnect and secure all equipment.

