Ligh Meter Calibration in Techmaster
Illumination, also known as illuminance, is one of the important factors in daily activities, production, .. To check illuminance, light meter is an effective tool. This device will provide measurement results, through which users will accurately judge the illuminance. This device will provide measurement results, through which the user will make an accurate assessment of the illuminance. Thereby, users can have an accurate assessment of environmental quality to take appropriate treatment measures.
Therefore, it is extremely important to ensure this equipment operates stably and correctly. The illuminance meter therefore needs to be calibrated periodically. Let’s learn about the illuminance meter calibration procedure at Techmaster.
1. Definition of illuminance
1.1 Illuminance
Illuminance is the total luminous flux incident on a surface, per unit area.
According to TCVN 7144-1
– Household illumination ranges from 200-500Lux depending on the area
– Illumination for part processing is from 300-750Lux
– Illumination during quality inspection needs 1000Lux
– Lighting when making gems needs to be at least 1500Lux.
1.2 Lux
Lux is a unit of illumination equal to the direct illumination on a surface that is everywhere one meter from a uniform point source of one candle intensity or equal to one lumen per square meter.
1.3 Illuminance formula
The illuminance formula is calculated as follows:
E = I / d ²
In there:
I: brightness intensity
d: distance from light source to illuminating surface
2. What is light meter ?
Simply put, a light meter is a device that measures light. There are two different kinds of light meters—incident and reflective. An incident light meter measures all the light falling onto a subject. Incident light meters help a camera focus on a subject regardless of how light or dark the surrounding background is. Reflective light meters do the opposite—they measure the light reflected by or bouncing off a subject.
3. Applications
This is a commonly used device in life and production. The light meter is one of the measuring devices used to assess the quality of the environment. This device is often used to check and evaluate the illuminance in offices, factories, schools, hospitals, … These are environments that need to have appropriate illuminance to avoid affecting both health and productivity factors, etc. In addition, the light meter is also used in agriculture for the measurement requirements related to crops.
Besides, this device is also used in photography, cinema, architectural landscape design, etc. To help determine the optimal light level for a scene.
4. Light meter Calibration Process
4.1 Why Light Meter Calibration?
Light meter is an important measuring device that requires high accuracy. Therefore, calibration of this device is extremely necessary. As it will help ensure stability and accuracy for related operations. Besides, the calibration also helps to detect equipment failures (if any) early for timely correction and repair.
4.2 Calibration instrument
– Standard light source (lamp) with color temperature between 2700K to 3200K
– Reference detector, range up to 20000Lux or more, accuracy better than 3 times UUT
– DC power supply for light source
– Shuffle table, clamp fixture with vertical, horizontal axis adjustment tools.
– Rail assembly with length up to 4m
– Software and laptop / PC supplied with system.
4.3 Environment conditions
– Temperature: (20 ÷ 25)ºC
– Relative Humidity: (30 ÷ 65)%RH
4.4 Preparation
– Ensure the UUT is clean and free from defects or damage capable of affecting use or calibration.
– As applicable, connect calibration system and UUT to suitable power source.
– Set the Lamp Power Supply VOLTAGE and CURRENT COARSE and FINE controls to minimum before applied to photometric calibration system.
– Set the Lamp Power Supply POWER switch to ON.
– Slowly adjust the CURRENT COARSE and FINE controls, as required, to display the exact certified current value reported in the Lamp Report of Measurement, example: 90.4VDC and 7.20ADC.
– The light source lamp must be allowed to stabilize about 15 minutes before performing calibration, or allow warm-up as required by the manufacturer.
– PC/Laptop turned on, software started.
– Turn on UUT, check battery and replace if necessary.
– Clamp the UUT on clamp fixture, near the Reference Detector.
– Adjust UUT sensing area same height with Reference Detector, and Lamp of light source.
– When preparation completed, turn off light room, leaving only the light source from the calibration system.
– Technician must be familiar with calibration techniques and the operator manual of the UUT being calibrated.
4.5 Perform Light meter Calibration
– Test points shall be performed at approximately: 20, 50, 100, 200, 500, 1000, 2000, 5000, 10000, 15000, and 20000Lux. Other test points within this range can be done follow customer’s requirement.
– Ensure that the no other light source are activated during calibration process. The calibration system should be located in dark room and covered by black curtain.
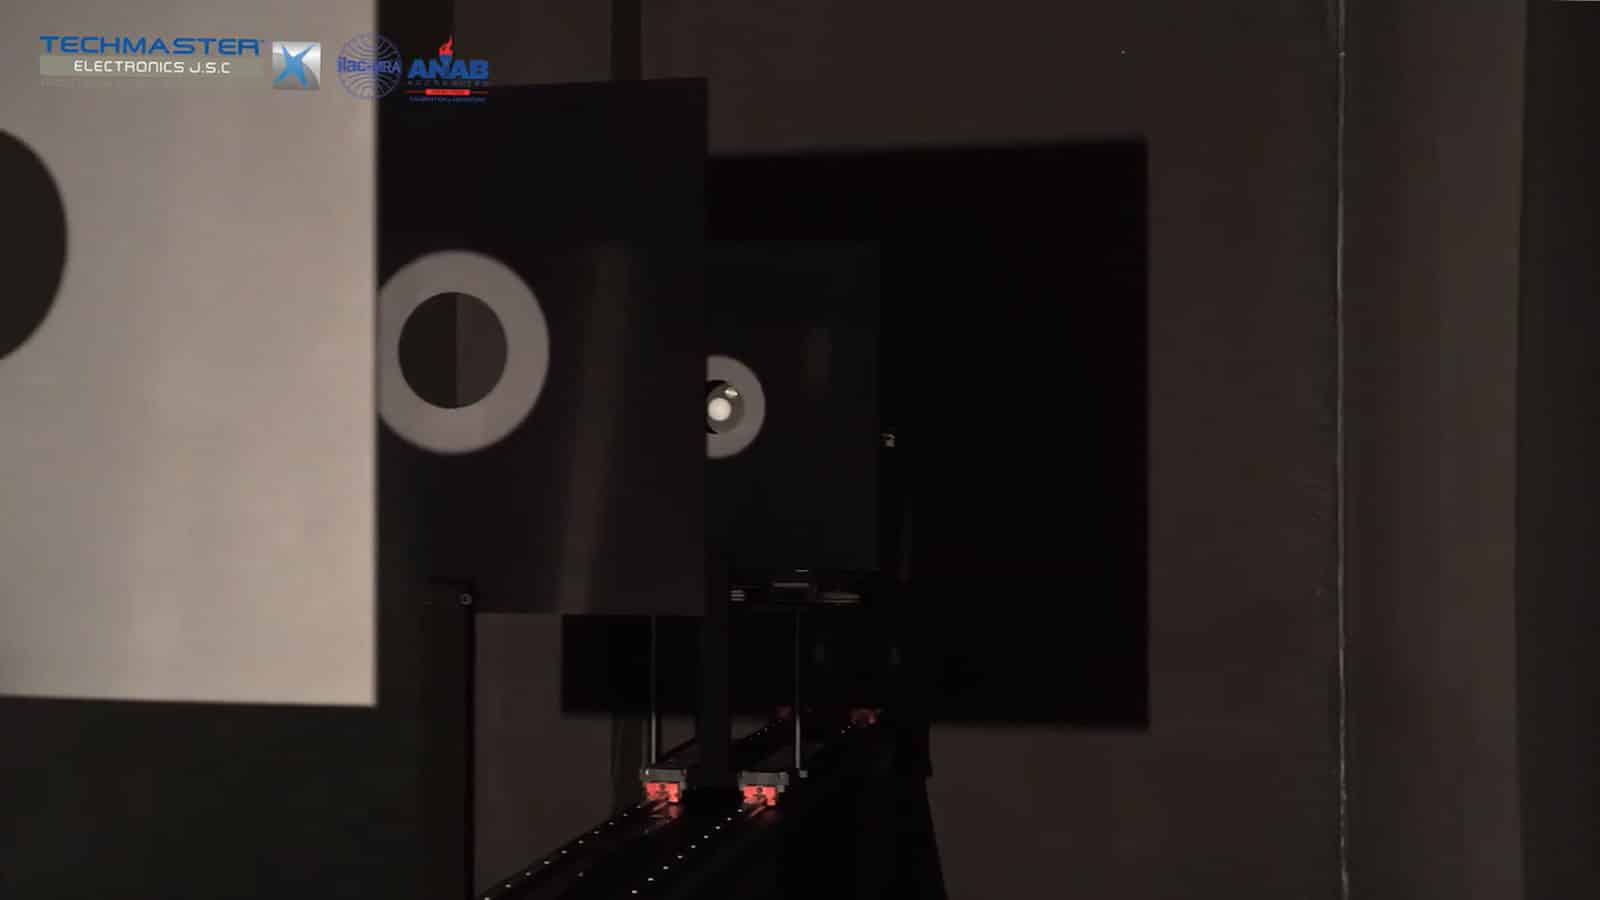
– Slowly moving shuffle table far away from light source as possible, on the rail assembly.
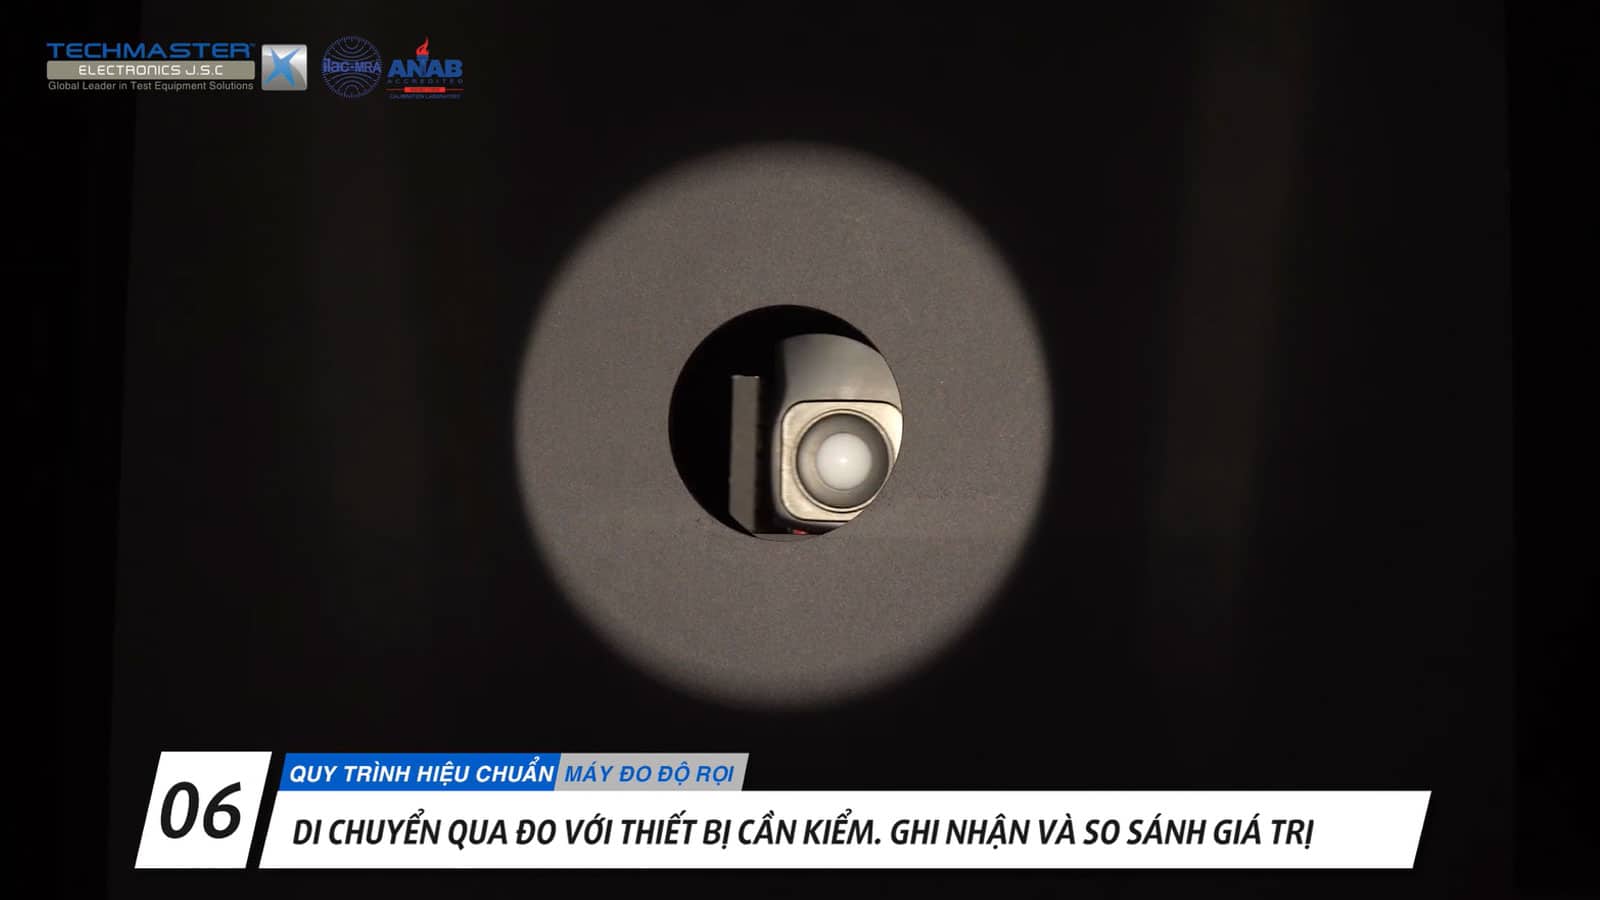
– Using vertical, horizontal adjustment tool of shuffle table, move Ref. Detector to the center hole of baffle assembly. Move shuffle table until Ref. Detector reading approximately first test point (20Lux).
– Waiting for stable reading, record value on software.
– Moving UUT to replace position of Ref. Detector. Waiting for stable reading, record UUT value.
– Repeat 5 times for Ref. reading and UUT reading.
– Moving Ref. Detector to replace position of UUT again, then move shuffle table toward closer to the light source, on the rail assembly until reach approximately next test point.
– Repeat measurement for Ref. Detector and UUT.
– Repeat above steps for remain test points.- Calibration completed, turn on room light, decrease power supply for light source slowly to zero, remove UUT from shuffle table, turn off and secure all equipment.

