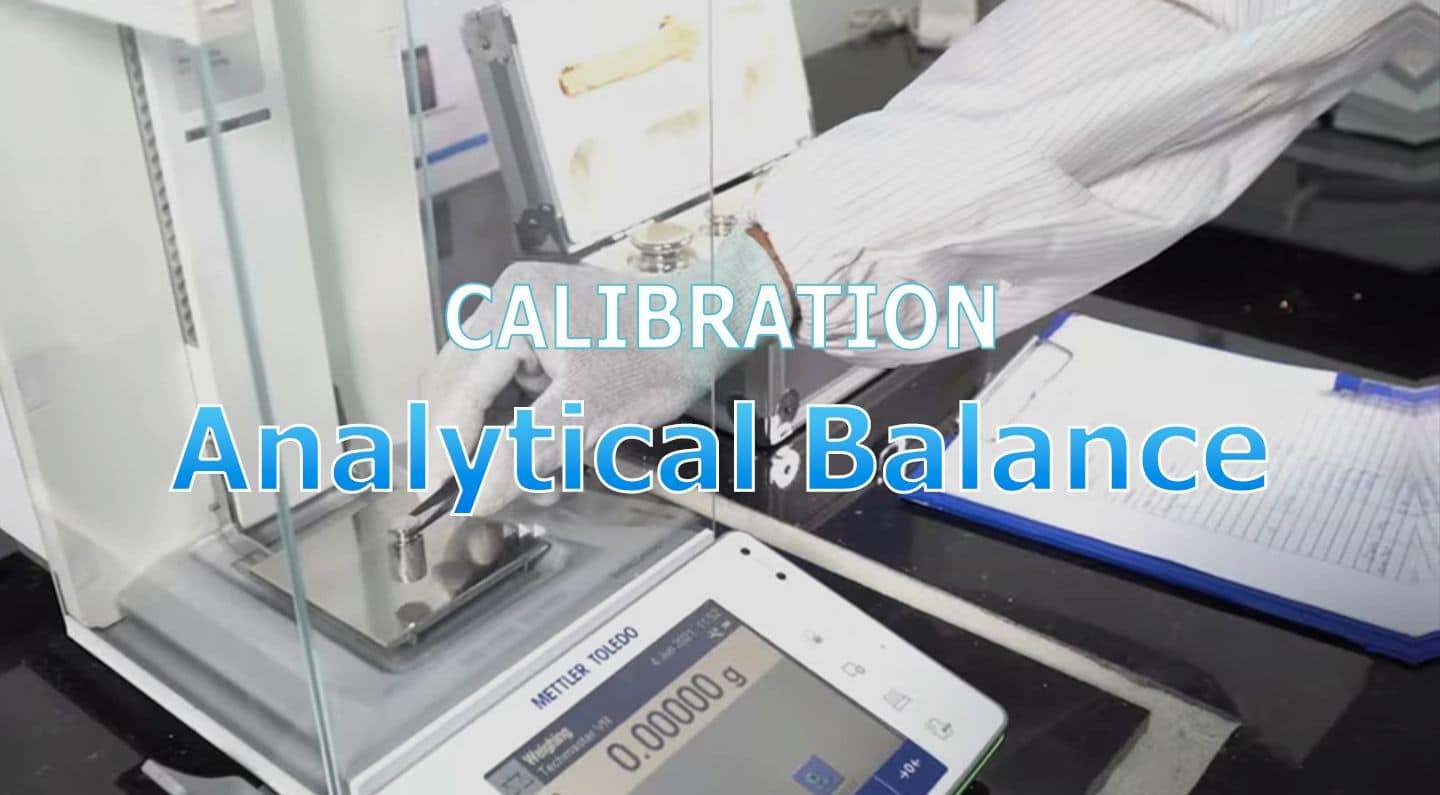
Analytical Balance Calibration. Analytical balance is a type of equipment commonly used in many different fields. Typical can be mentioned in production factories, in research institutes,…
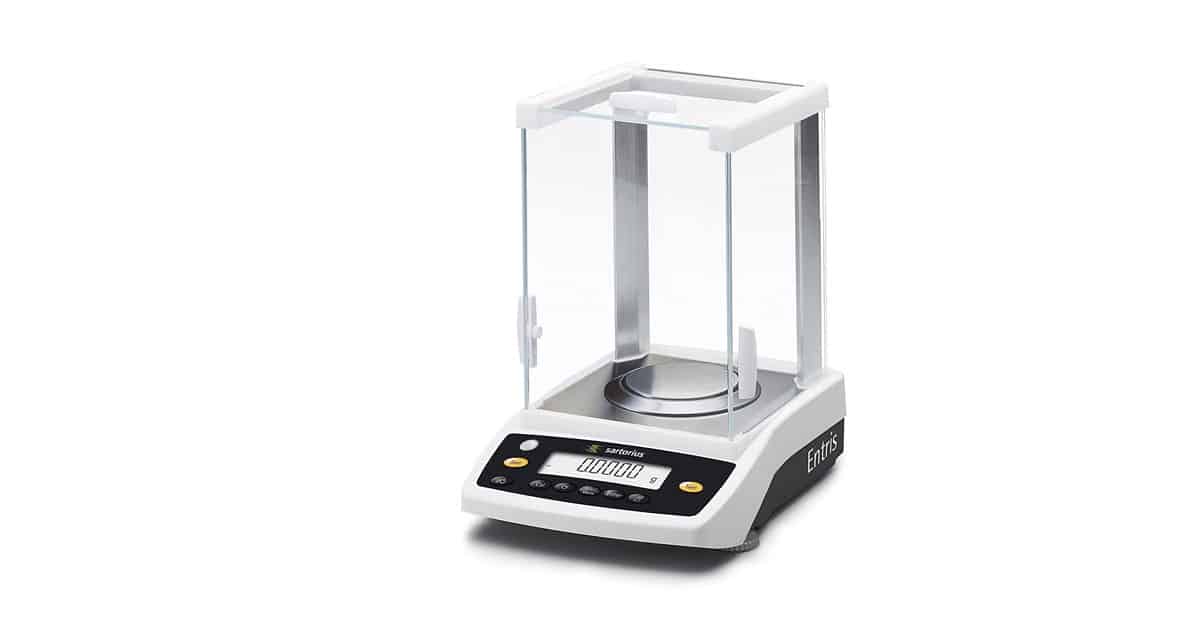
An analytical balance is a type of electronic balance used to determine the amount of an object. With a resolution of up to 5 odd numbers. These are scales made to measure very small measurements with extremely small errors. Therefore, this type of device is often used in areas where very high accuracy is required. The primary analytical balance is an expression instrument for high resolution. And offers extremely delicate measurement capabilities. Besides, this scale is also user-friendly and versatile in applications in many different industries.
1. Learn about Analytical Balance
Analytical Balance Classification
Analytical balances are classified according to the accuracy of the analysis and the degree of error of the balance. Analytical balances are divided into the following types:
- Analytical balance with 4 odd numbers; resolution: 0.0001g
- Analytical balance with 5 odd numbers: resolution: 0.00001g
- The permissible error is from 5 to 15 times the resolution, depending on the scale, or based on OIML R76-1.
Analytical Balance Applications
Due to extremely small errors and high resolution and accuracy. Analytical balance is a type of balance that is commonly used in laboratories, schools, research institutes or companies specializing in chemicals and manufacturing.
2. Analytical Balance Calibration Process
2.1. What is Analytical Balance Calibration?
Calibration is a quantitative comparison process to check the quality and metrological efficiency of a balance. Timely calibration of the balance helps to maintain the quality of the balance. Ensure the working process is smooth, product quality is guaranteed. Besides, the calibration also helps to timely detect when the equipment has deteriorated and damaged.
2.2. Calibration
To be able to assess the status of the Analytical Balance in the most accurate and effective way. Calibration of the Analytical Balance will be carried out through the following calibrations:
- Technical inspection
- Measurement inspection
- Repeatability inspection
- Eccentricity inspection
- Error near Max inspection
- Accuracy inspection
2.3. Standard and supporting device
- Standard weight set class E1, E2, F1, F2, M1 with total weight of standard weight set shall be equal or larger than Unit Under Test (UUT) capacity, accuracy better than 3 times UUT:
|
Balance, scale accuracy class |
Standard weigh set class |
|
I |
E1, E2 or above |
|
II |
E2, F1 or above |
|
III |
F2, M1 or above |
|
IIII |
M1, M2 or above |
Table 1. Accuracy class of balance and standard weight set
- Reference thermometer (for moisture balance only)
- Alcohol, lint-free cloth, gloves.
2.4. Environment conditions
- Temperature: (19 ± 2)ºC
- Relative Humidity: (20 ÷ 65)%RH
Note: environment conditions above apply for Techmaster inhouse laboratories. Outside this bound conditions will be considered with customer for uncertainty and measurement results.
2.5. Preparation
- Ensure UUT is clean and free from defects or damage capable of affecting use or calibration.
- Place all standard equipment near the UUT and allow them to stabilize for appropriate time based on the manufacturer’s guidelines prior to using them.
- Balance shall be placed in stable flat surface, no wind and vibration.
- Connect UUT to suitable power, switch on and warm up at least 30 minutes or follow manufacturer’s manual.
- Technician must be familiar with calibration techniques and the operator manual of the UUT being calibrated.
- Refer to OIML R76-1 for balance, scale accuracy class identification.
- Refer to OIML R111-1 for weight accuracy class identification.
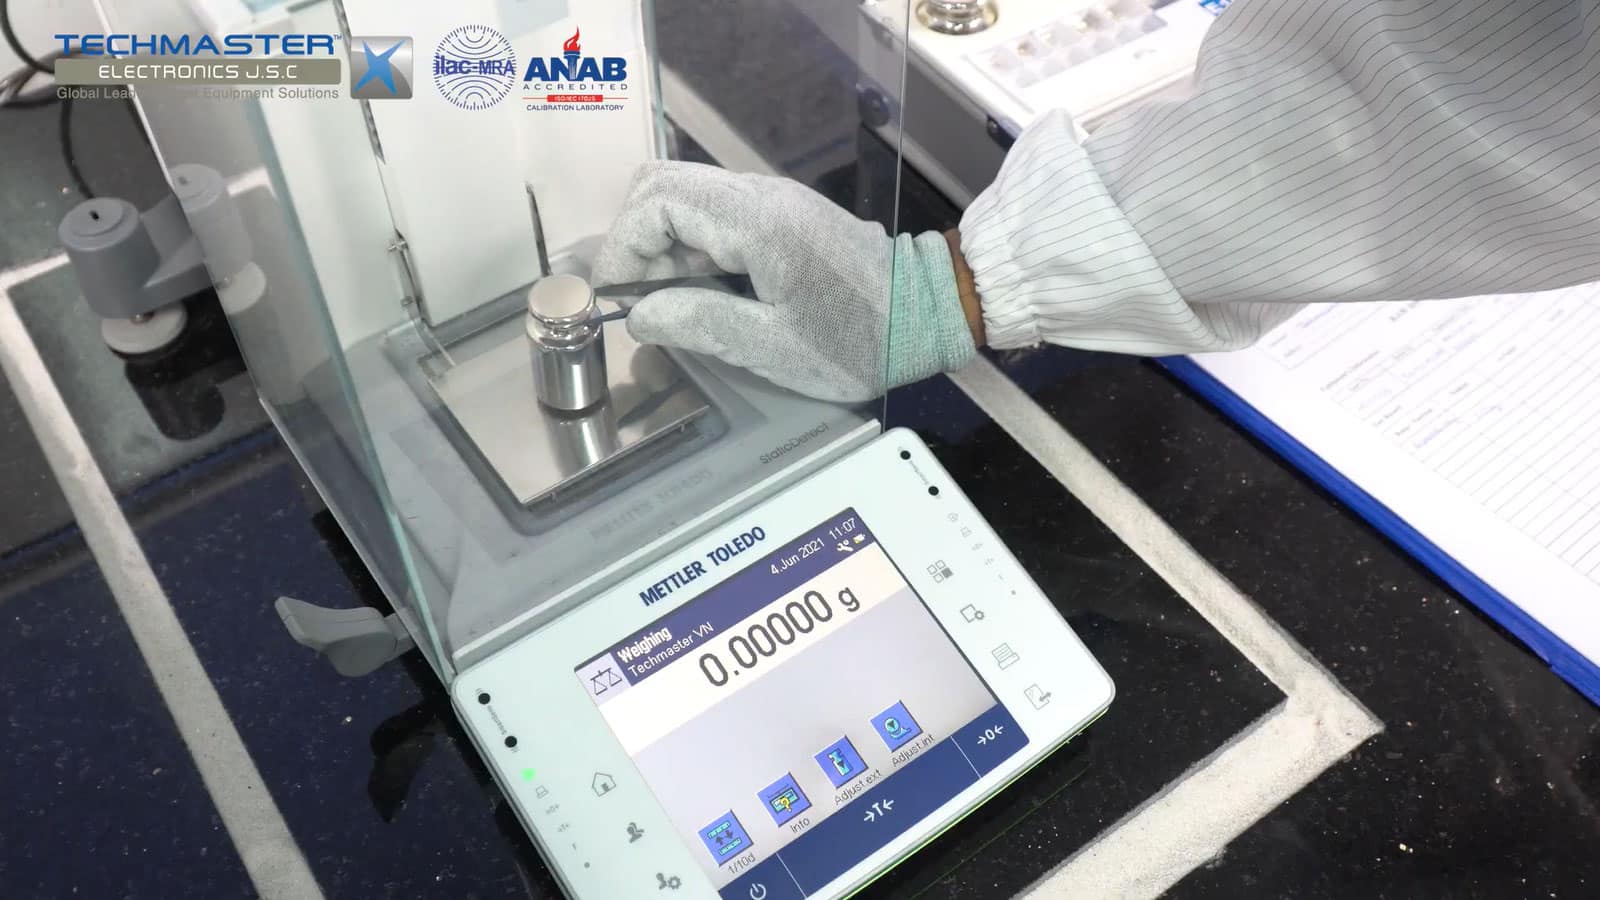
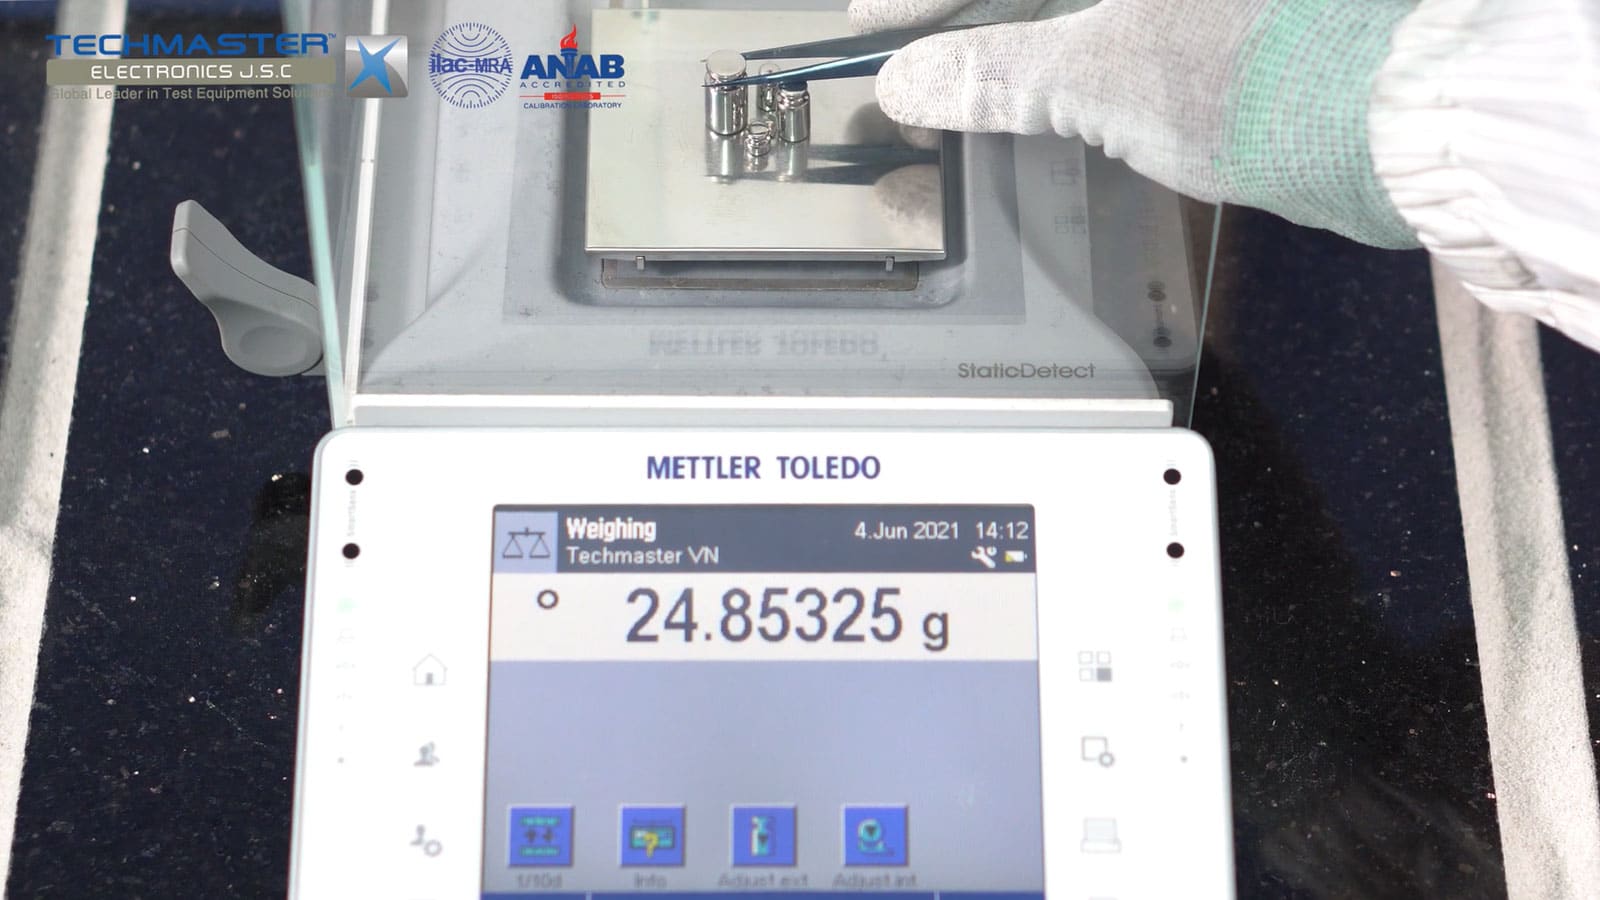
- Wear gloves when handle with standard weight.
2.6. Perform
2.6.1. Repeatability Test
- Calibration will be perform at appropriate 50% and 100% of UUT range.
- Select suitable class of weight set follow table 1 above.
- Ensure there is no load on pan of balance, scale. Set zero on UUT.
- Put amount of standard weight set for desired value on the pan, waiting for stable reading, record values.
- Each test points shall be repeat 6 times, record values.
- Calculate average, repeatability and error, compare with maximum permissible error.
2.6.2. Eccentricity Test
- Calibration will be perform at appropriate 30% of UUT range.
- Select suitable class of weight set follow table 1 above.
- Ensure there is no load on pan of balance, scale. Set zero on UUT.
- Perform test at 5 location on the pan of UUT: center and 4 corners.
- Put amount of standard weight set at the center of pan, waiting for stable reading, record UUT values.
- Remove weight, close balance door (for analytical balance), waiting for stable reading, set zero on UUT.
- Put the above weight on pan at corner 1, waiting for stable reading, set zero on UUT.
- Repeat for remains corners.
- Eccentricity of UUT is maximum absolute different value between each corner with center value.
2.6.3. Linearity Accuracy Test
2.6.3.1. Full load method
- Calibration will be perform from minimum (Min) to maximum (Max) range of UUT.
- Separate this range into 10 test points, including Min and Max points.
- Ensure there is no load on pan of balance, scale. Set zero on UUT.
- Put amount of standard weight set equal Min points, waiting for stable reading, record values.
- Empty pan, set zero on UUT if need, put amount of weight equal to next test points, waiting for stable reading, record values.
- Repeat process until Max points.
- Calibration now completed, empty pan, power off UUT, secure all equipments.
2.6.3.2. Replacing load method
This method apply only for UUT Max > 1000kg, and actual standard weight load ≥ 20% Max UUT.
- Level 1 test: put amount of standard weight equal 20%Max on pan, call it B load. Compare B load to UUT reading, record value for level 1 test.
- Remove B load, then put on pan amount of sample weight equal to B load reading value by UUT, call it B1 load.
- Level 2 test: keep B1 load on pan, put B load back to pan, compare B+B1 to UUT reading, record values for level 2 test.
- Remove B & B1 load, then put on pan amount of sample weight equal to B+B1 load reading value by UUT, call it B2 load.
- Level 3 test: keep B2 load on pan, put B load back to pan, compare B+B2 load to UUT reading, record values for level 3 test.
- Repeat above steps until Max range of UUT.
- Using same replacement load method to copy suitable load weights for repeatability test at 1/2Max and Max.
- Calibration now completed, empty pan, power off UUT, secure all equipments.
2.6.4. Crane scale
- For crane scale, perform only Linearity Test as item 5.3.
- Use platform pan, chain hook and hang on the crane scale.
- Taring for UUT indicator.
- Put standard weight on platform pan, appropriate 10% UUT range, record value.
- Continue for 20, 30, 40, 50, 60, 70, 80, 90 and 95%UUT range.
2.6.5. Moisture balance
- For moisture balance, do the same as 5.1 to 5.3
- In addition, it is necessary to further calibrate the heating temperature function.
- Use a dedicated kit to calibrate the temperature function.
- It can be replaced by sticking the temperature sensor tip onto the weighing pan. Use a wire sensor to ensure that closing the balance lid does not affect the weighing operation.
- Set the temperature to desired test point, for example 105oC and 160oC.
- Operate the drying function of the balance follow manufacturer’s instructions.
- Wait for temperature stabilize, record value of the reference thermometer.
2.7. Tolerance
- Tolerance of balance and scale shall be follow either OIML R76-1, manufacturer, customer if none of other are present.
- Need to negotiate with customers if had other requirements before judgement.

